
These were planned from the start… and honestly, I was excited about them.
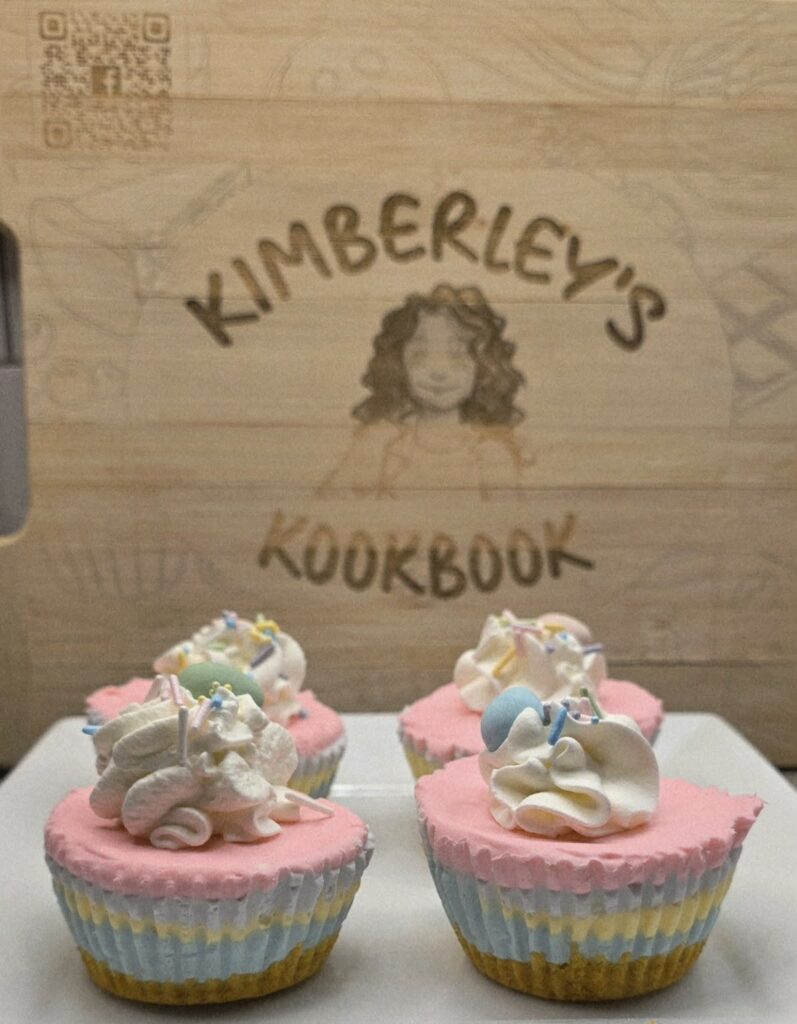
My daughter actually requested these with the coloured layers and all. They’re fun, a little playful, and definitely feel like Easter.
I had cream cheese, mini eggs, and absolutely zero desire to turn the oven on… so no-bake it was.
And I think I might like this version better.
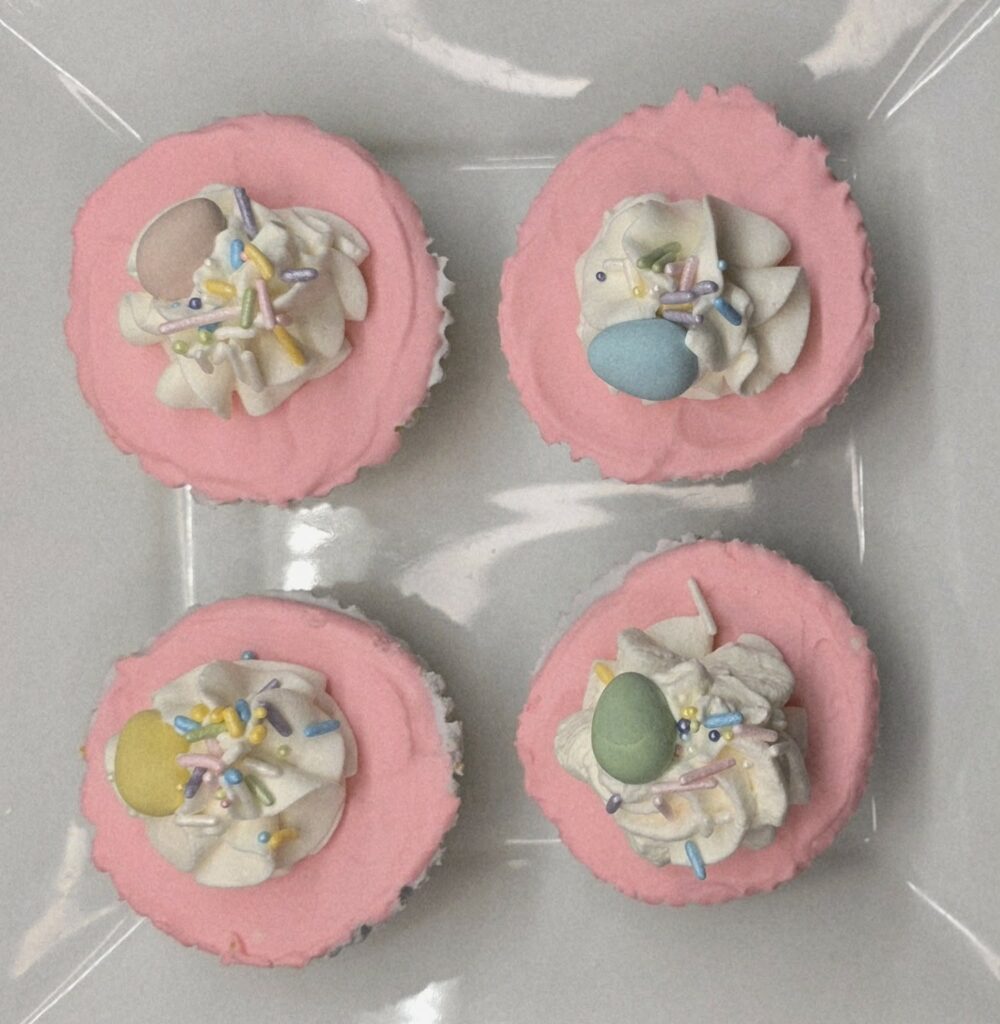
They’re lighter, softer, almost like a cheesecake-mousse situation… and those pastel layers just make them feel like spring showed up in dessert form.
But if you’re not in the mood for all the layering, you can absolutely keep them simple too…
just one creamy layer and top them with fresh fruit instead. Still just as good.
Not perfect. Not bakery-stiff.
Just soft, sweet, and a little bit playful.
Which, if we’re being honest, is exactly the kind of baking I love most
🌸 What makes these so good
- No oven needed (which is already a win)
- That fluffy, creamy texture instead of dense cheesecake
- Easy to customize colours (or skip them completely)
- They look way fancier than the effort it takes 👀
🧁 A quick note before you start
These are no-bake, which means:
- They need time to chill (don’t rush it… I know, I tried 😅)
- They’re a little softer than baked cheesecake
- And yes… if you use liners, you might see those little ridges on the sides
Totally normal. Still delicious.
If you want that super smooth bakery look, silicone molds are your best friend… but honestly?
I kind of love the homemade feel of these.
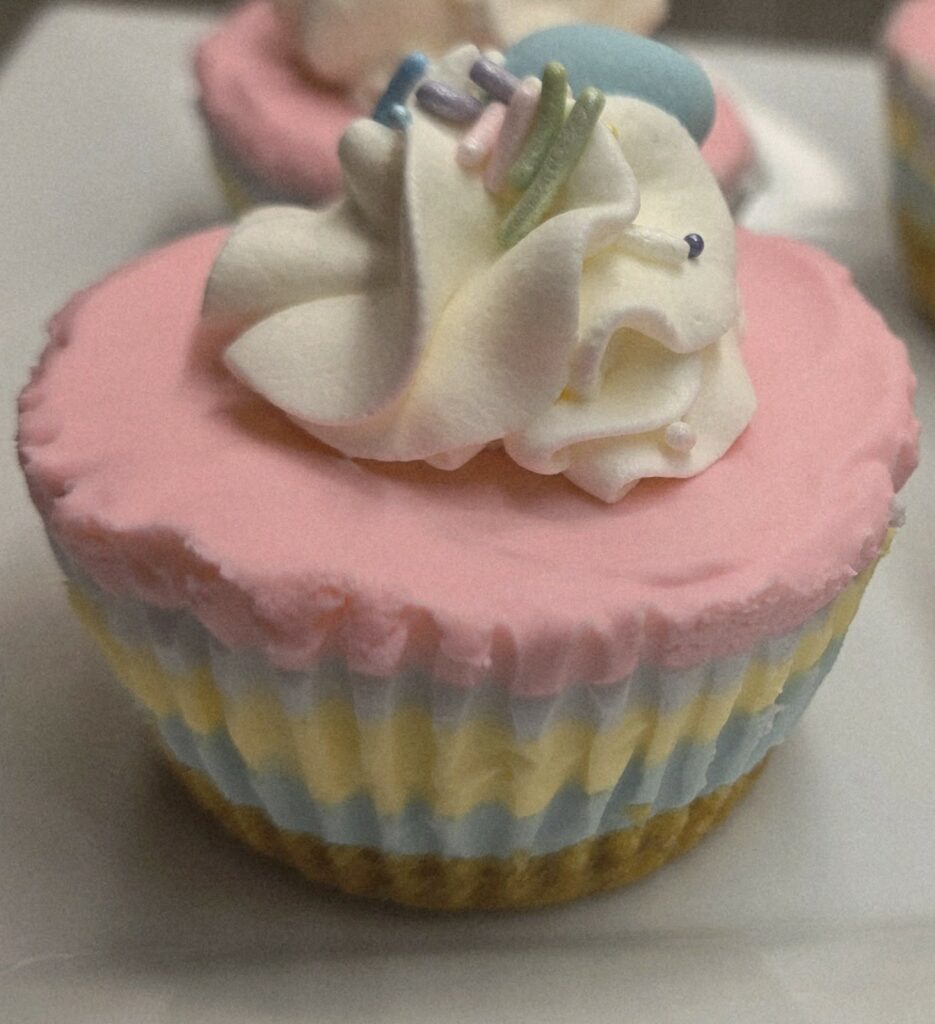
Mini No-Bake Cheesecakes – Easter Edition
Description
Soft, creamy no-bake mini cheesecakes with a light mousse-like texture. Layered in pastel colours for a fun Easter twist, or kept simple and topped with fresh fruit. Easy, no oven required, and perfect for spring gatherings.
Ingredients
Crust
Cheesecake Filling
Optional Colours
Toppings
Instructions
Prepare the crust
-
-
In a bowl, mix graham cracker crumbs, melted butter, and sugar until combined.
-
Press firmly into the bottom of lined muffin tins or silicone molds.
-
Place in the fridge to chill for 15–20 minutes.
Whip the cream
-
-
In a separate bowl, whip heavy cream until stiff peaks form.
-
Set aside.
Make the filling
-
-
Beat softened cream cheese until smooth.
-
Add powdered sugar, vanilla, and lemon juice. Mix until fully combined.
Lighten the mixture
-
Add about ¼ of the whipped cream to the cream cheese mixture and mix to loosen it.
Fold gently
-
Add remaining whipped cream and gently fold until smooth and fluffy. Do not overmix.
Divide and colour (optional)
-
Divide the mixture into separate bowls and add gel food colouring to create pastel shades.
Assemble
-
Spoon or pipe the cheesecake mixture over the chilled crusts, layering colours if desired.
Smooth the tops with the back of a spoon or spatula.
Chill
-
Refrigerate for at least 4–6 hours, or overnight for best results.
Decorate and serve
-
Top with whipped cream, mini eggs, sprinkles, or fresh fruit before serving.
Nutrition Facts
Servings 12
Serving Size 1
- Amount Per Serving
- Calories 285kcal
- % Daily Value *
- Total Fat 21g33%
- Saturated Fat 12g60%
- Cholesterol 85mg29%
- Sodium 180mg8%
- Total Carbohydrate 22g8%
- Dietary Fiber 0.5g2%
- Sugars 14g
- Protein 4g8%
* Percent Daily Values are based on a 2,000 calorie diet. Your daily value may be higher or lower depending on your calorie needs.
Note
- For clean layers, pipe each colour instead of spooning
- Chill the filling slightly before layering if it feels too soft
- Freeze for 30–60 minutes before removing liners for cleaner edges
- Silicone molds will give the smoothest sides
- These are softer than baked cheesecake and have a light, mousse-like texture
- Adding toppings like mini eggs, sprinkles, or fruit will increase sugar and calories
- Using Greek yogurt instead of sour cream (if you ever swap) slightly lowers fat
- Portion size can vary depending on mold size
Nutritional information is an estimate only and may vary based on ingredients used and portion sizes.